How do I set up a shared calendar?
1. Go to Outlook’s Calendar page by clicking Calendar on Outlook’s bottom left section
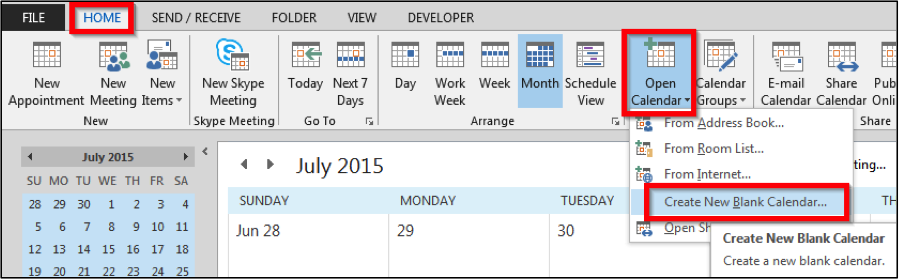
2. On the Calendar Page’s Home tab, click “Open Calendar” then click “Create New Blank Calendar”
3. Assign a name to this calendar and where to place it in your calendar lists and click OK.
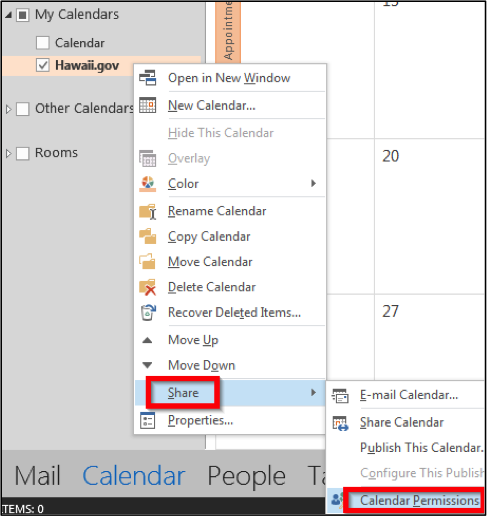
4. Share the calendar by right-clicking on this calendar, selecting “Share” >> “Calendar Permissions”
5. Click the Add button and select a user to grant access to your shared calendar. Click on the Add button and then click OK.
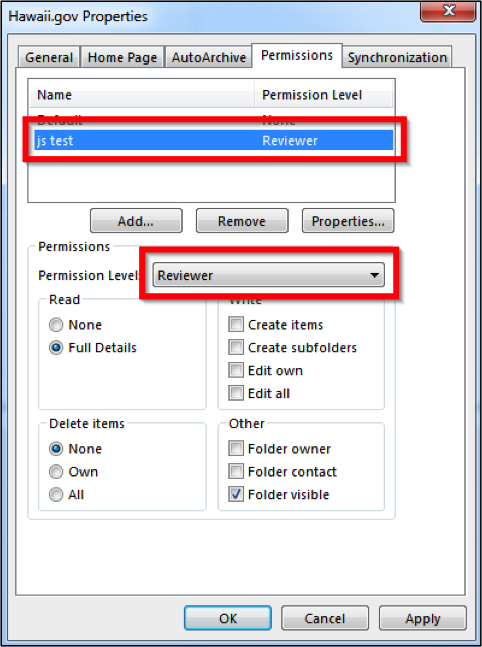
6. In the Calendar’s Properties window, select the user’s name to set their calendar permissions. To allow this user to view this shared calendar, you can set the “Permission Level” to “Reviewer” – This will set the “Folder Visible” and Read >> “Full Details” checkboxes for you. Click OK when completed.
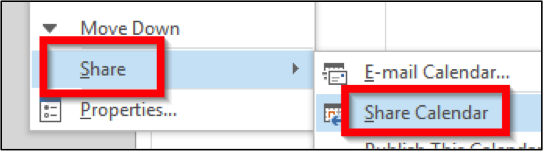
7. Right-click the calendar to be shared >> click “Share” >> click “Share Calendar” – An invitation will be sent to the user to view this shared calendar.