How do I create a calendar meeting?
Create a New Meeting request for Attendees using the Scheduling Assistant
1. Go to Outlook’s Calendar page by clicking Calendar on Outlook’s bottom left section.
2. On the Main Calendar page (Home tab), click the “New Meeting” button.
3. In the new window, click the “Scheduling Assistant” button
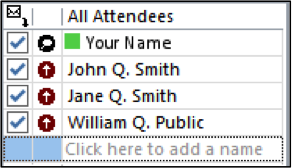
4. The Scheduling Assistant view displays the list of Attendees on the left pane and a large timetable in the main section.
- Attendees – Who is invited to this meeting?
You can add attendees to your meeting request by clicking in an available space (Look for the box below your name that says “Click here to add a name”) and typing part of the attendee’s name and clicking the “Check Names” button.
You can also add attendees from the Address Book by clicking on the “Add Attendees” button and searching for users by their name. Click the Add button in the Address Book to select the users for the meeting.
- Suggested Times – What is everyone’s availability?
After adding your attendees to the meeting, select a time for the meeting by clicking on the Suggested Times area in the main viewing area. If any attendees have existing meetings that conflict with your meeting time, a purple (Out of Office) or blue (Busy) indicator will appear in the schedule.
Use the Date/Time dropdown boxes beneath the Suggested Times section to determine the Start and End time of your Meeting.
Outlook will highlight the reserved time for your meeting in blue:
- Click the Appointment button at the top of the screen to return you to the Appointment screen.
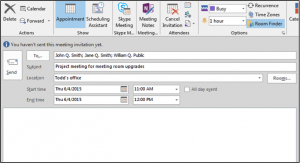
You will see the details for the date and time that you selected. Add a subject and location in the appropriate text boxes. You can also enter text to appear in the body of the message.
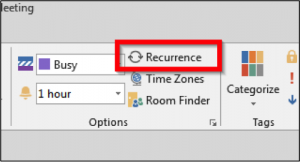
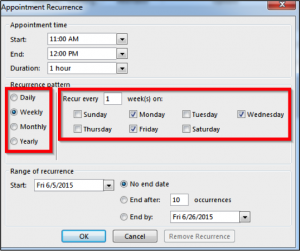
- You can also set this as a recurring meeting by clicking on the Recurrence icon and setting the frequency of the upcoming meetings.
Customize your meeting times as needed.
- When ready, click the Send button to send this Meeting Request to the attendees.

